This page deals with upgrades specific to the Makerbot Replicator 2 3D printer.
Required Modifications[]
These upgrades and modifications may be required in order to ensure proper prints and long life.
Drive System Replacement[]

Upgraded filament extruder
Print out and replace the Filament Drive system on the extruder with this one: Thing 53125 Be sure to purchase the components kit from makerbot.com or order the parts separately
- Spring: McMaster.com 9657K288
- Shoulder Screw: McMaster.com 90278A317
- Ball Bearing: McMaster.com 7804K1
- Cap Screw : McMaster.com(100pack) 91294A126

3D Printing with the Replicator 2 - Upgrading the Extruder (6 of 8)
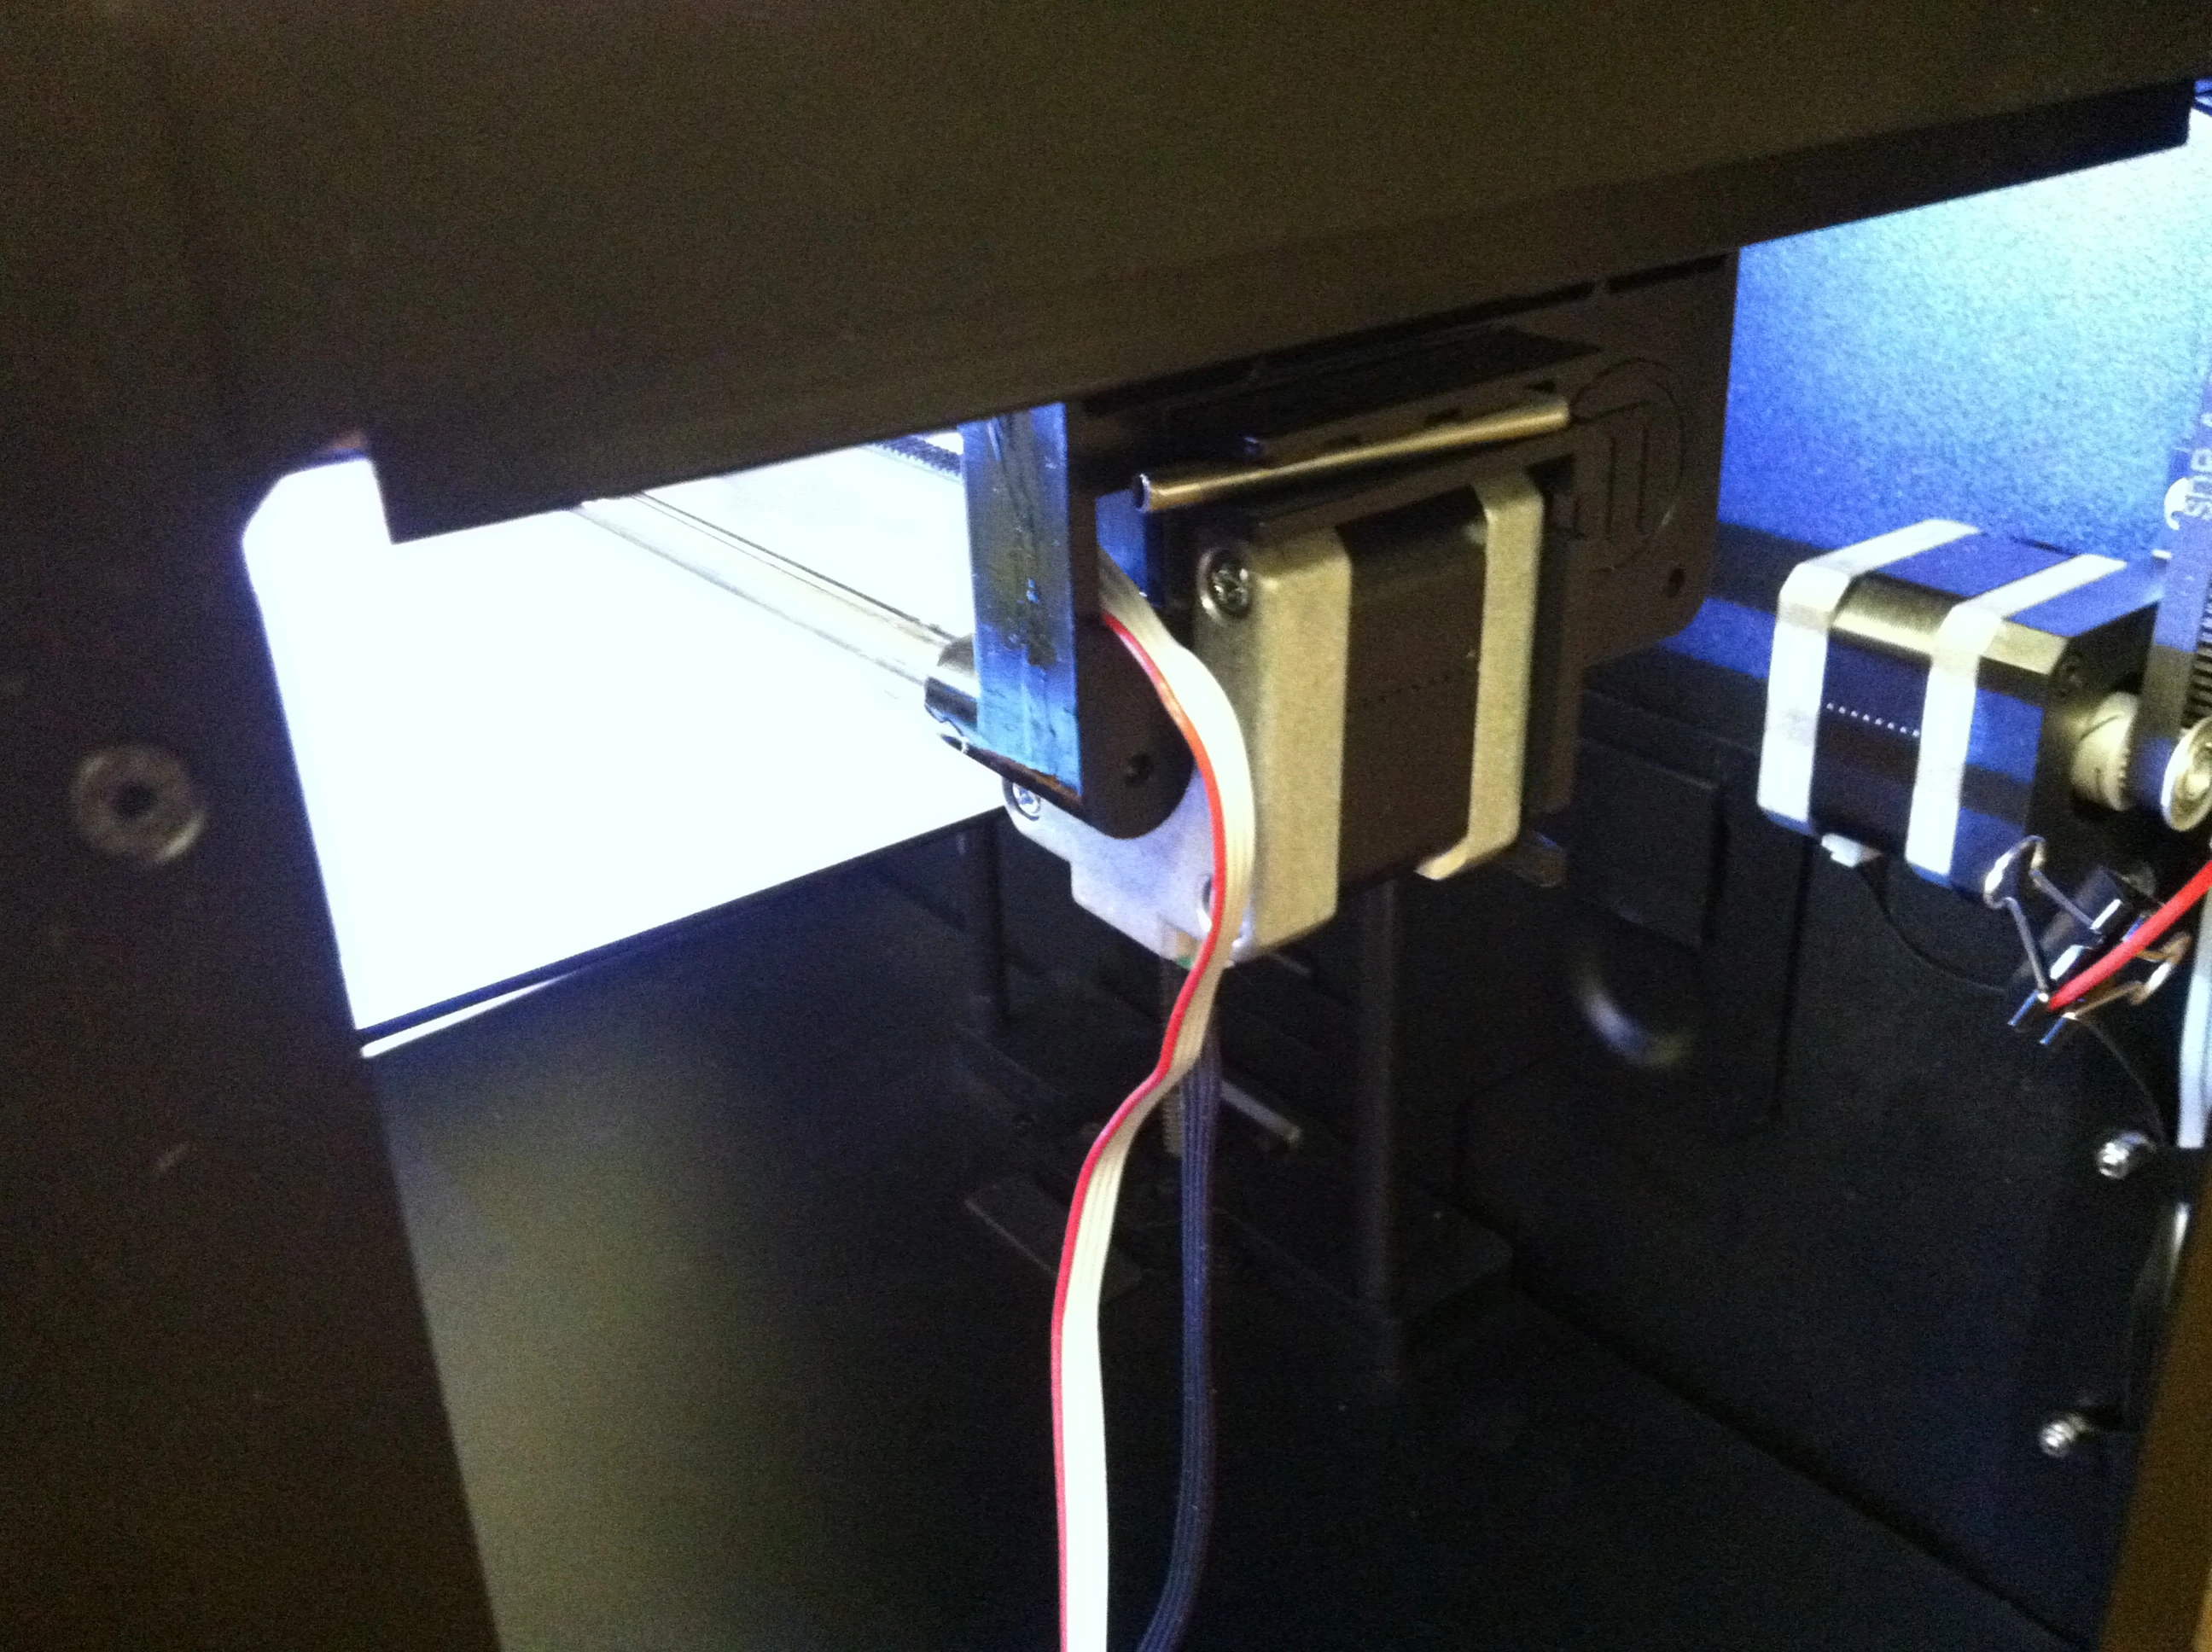
X Axis Cable Protection[]
X Axis Cable Removal
Remove the X axis wiring from the channel. A design flaw creates a flex point where the X axis cables bend and the internal filaments eventually break.
There are currently 2 accepted fixes:
==Complete Cable Tie Removal==[]
- Remove the right side panel from the Replicator 2.
- Remove the metal channel pin from the X axis servo bracket.
- Gently pull both cables out of the track and allow them to dangle freely, this eliminates stresses on any single point
- Replace the right side panel
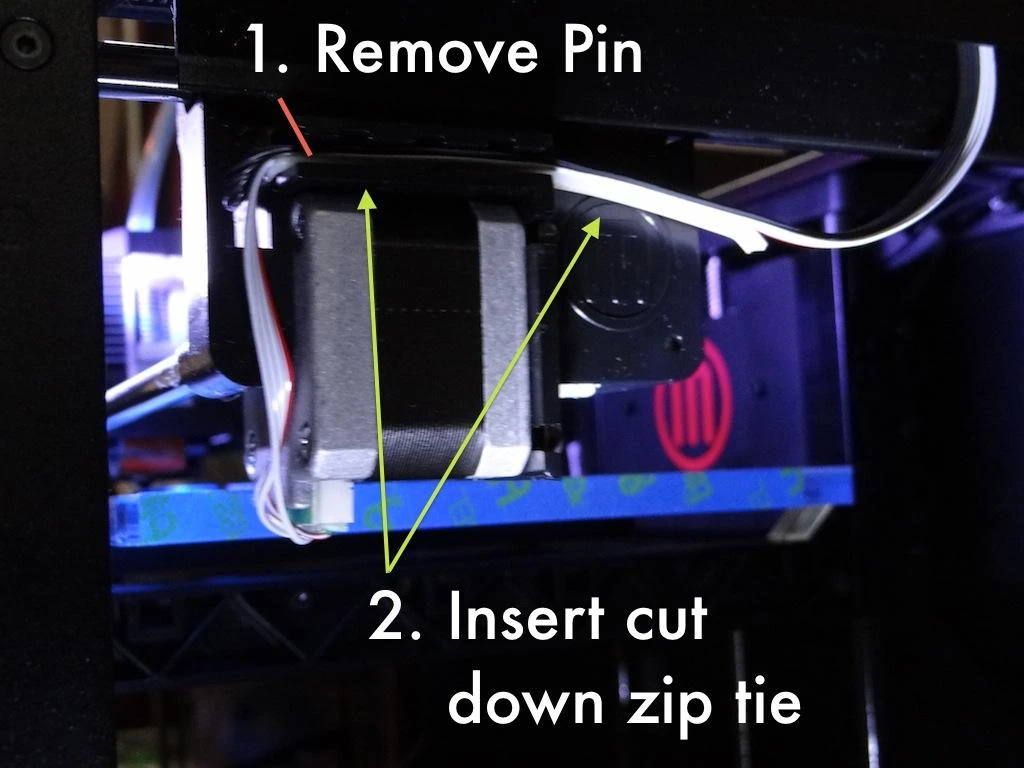
==Flex Reduction Via Zip-Tie==[]
Trimmed Zip Tie Solution
- Turn off your bot and take the right hand cover off your Replicator 2
- Pull out the metal pin that holds the ribbon cables in place (you can put this in the zip loc bag with all your old plunger extruder parts :)
- Cut a medium to large size zip tie so you have about an 80mm length.
- With the smooth side up, use some needle nose pliers to crimp both ends down.
- Light a match and melt each end to remove sharp edges
- Pull out the ribbons, place the zip tie piece underneath, and insert together, then use a flat end screw driver to gently jam it into place below the ribbon cables.
- Turn on your bot and run the home script to make sure everything is still good.
- Replace the cover
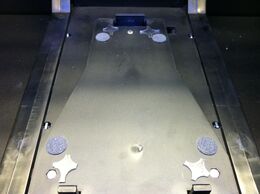
Bumper Replacement

The small cloth bumpers supporting the build plate will eventually become smashed down such that they will no longer hold the plate up against the retaining clips. At this point they can be replaced with felt or similar bumpers. In the photo, some simple rubber adhesive feet were used (actually the webbing holding the feet together).
Whatever bumpers are used, they should be at a firm position when compressed to .8mm.
Optional Modifications[]
These upgrades and modifications are optional and may offer an improved experience for the advanced user.
Replacement Build Plate[]
Some users have reported that their acrylic build plates are warped when they arrive. It is possible to replace with another material such as glass, but the adhesion properties may be negatively impacted in comparison to acrylic.
There are multiple sorces for glass build plates. The ideal glass plate is tempered glass 9mm or 3/8" thick, 11 1/4" or 285mm wide and 6 7/16" or 166mm deep.
Sailfish Firmware[]
This firmware offers some benefits over the default makerbot firmware. It is not officially supported by Makerbot.
- Step by Step Instructions for loading Sailfish on Replicator 2
- Sailfish Thing 32084